Tuesday, December 24, 2013

Peggy's Quilt


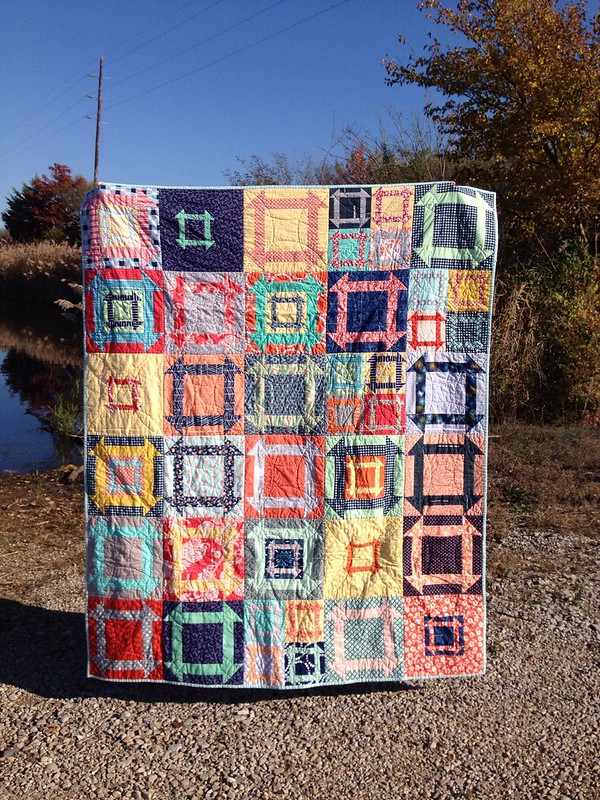
Back at the beginning of November, when I was telling the ladies in That Stash Bee what I wanted them to make for my month, I said that there was a chance I would be using those blocks to make a quilt for my mother-in-law. Well, after seeing a few of the blocks they made I knew that I wouldn't be giving that quilt away. So instead she'll be getting this one.


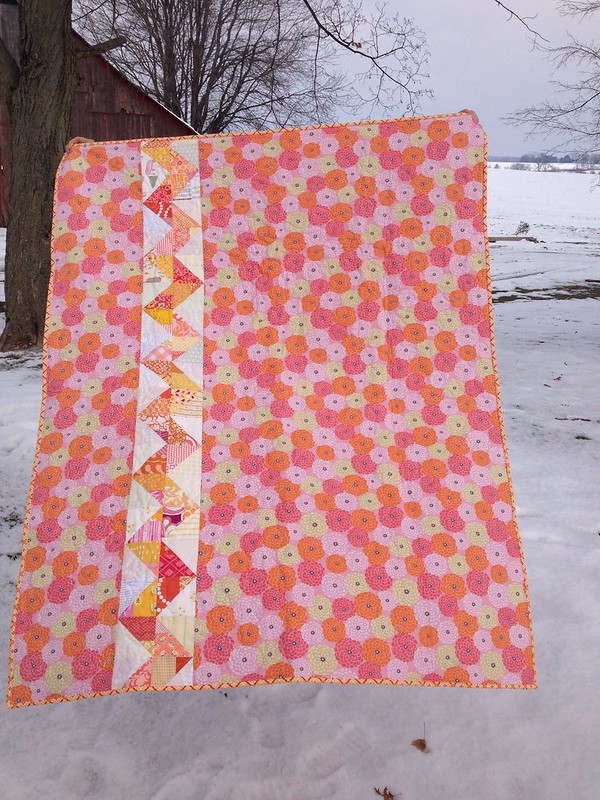
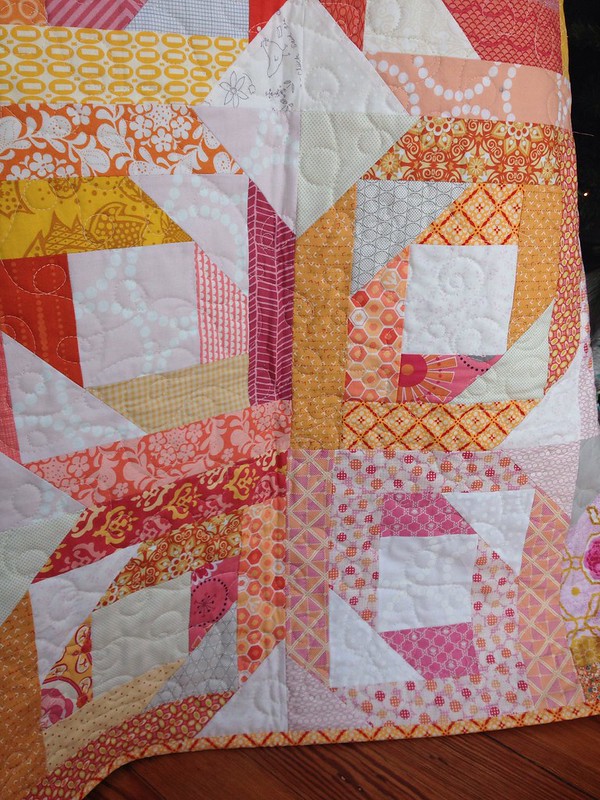
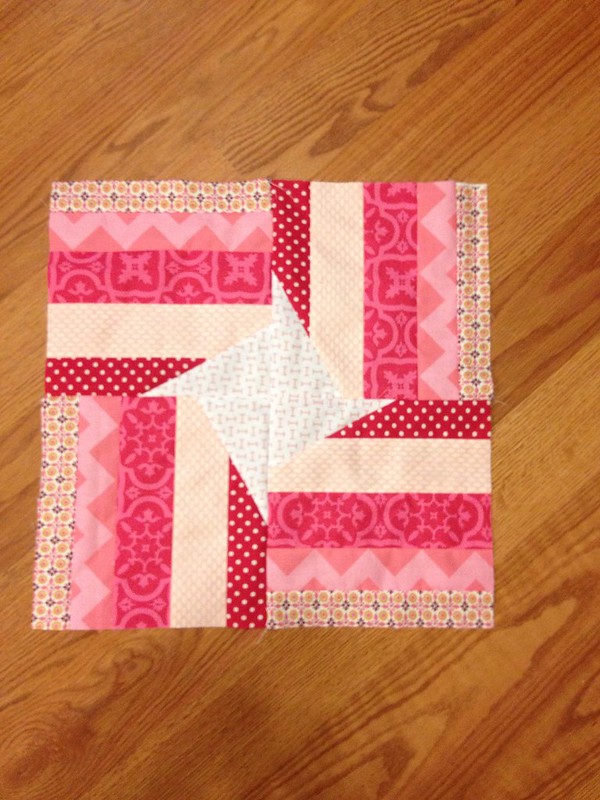
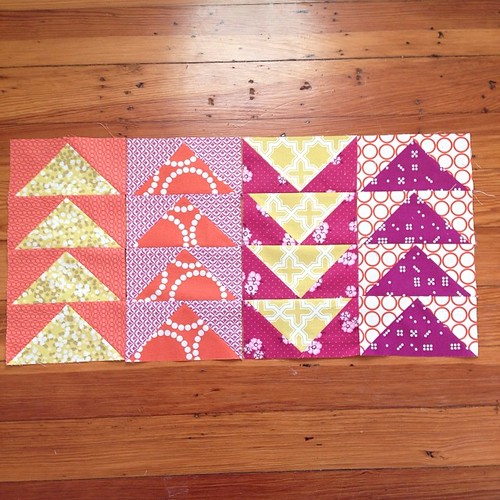
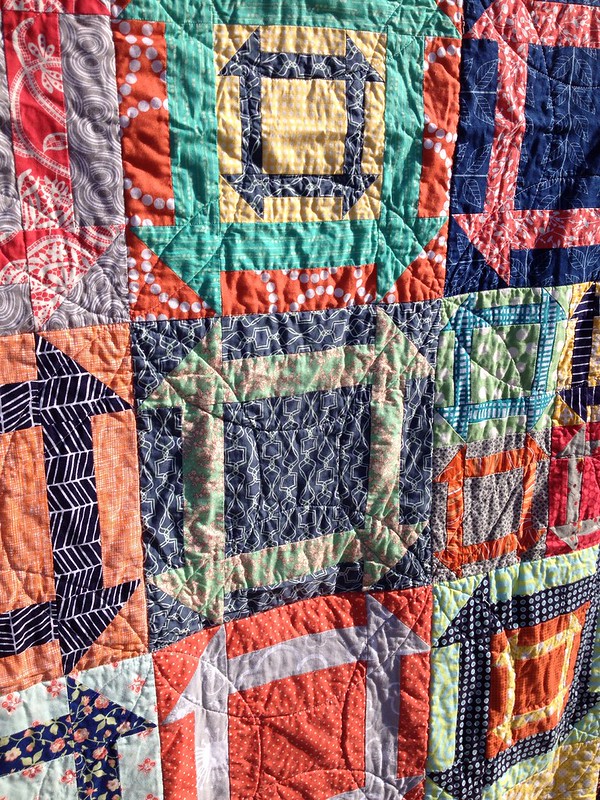
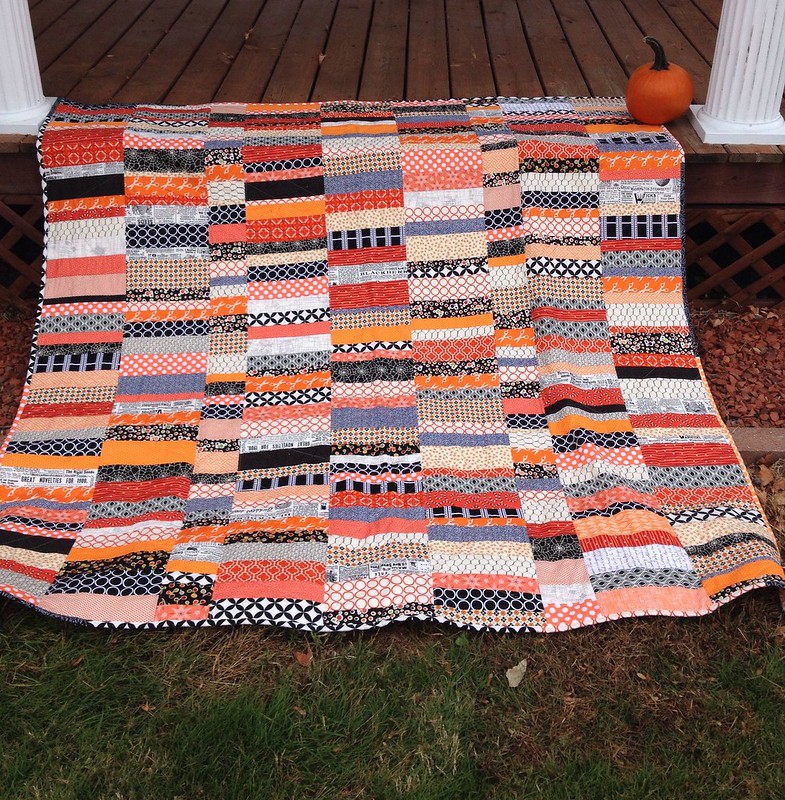
I was very much inspired by this quilt by Allison of Cluck, Cluck, Sew. I feel like I say that a lot. She really does make some beautiful quilts! To make the blocks, I just used four 3.5" squares of Kona White, two 3.5" squares of my print, and one 3.5"x9.5" rectangle of my print. After laying out the blocks how I wanted them, I added a 3.5"x9.5" rectangle of Kona White between the blocks where it was needed to offset the rows. The finished quilt is roughly 63" square. My MIL is fairly short so I figure that's a good lap size quilt for her.


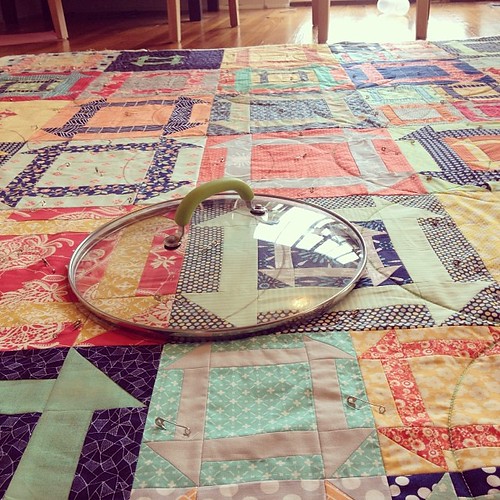
I wanted to make this quilt with a flannel backing so this grey herringbone sheet from Target was perfect. This is another one that I took to my mom's to quilt and as you can see I didn't do the most perfect job on the quilting, especially as I got close to the edge. But, it's good enough for me. I used a stripey Denise Schmidt binding that I've had in my stash for a couple of years and was seriously doubting that I would ever find a use for it. Glad I finally did!


Monday, December 16, 2013

Pineapple Blossom

Pineapple Blossom, front

October was my month again as quilter for the Imagine Circle of do.Good Stitches. I was inspired to choose the Pineapple Blossom block after seeing my friend Catherine's beautiful quilt that she made with the help of her Brit Bee ladies.

We used this tutorial from Quiltville to make the blocks, using the requirements for a 12" block and colors in a range of pinks, corals, salmon, golds, and apricots along with some low-volume prints. I have to say that I really love how this quilt turned out!


Sorry for the bad picture of the backing, but Rog and I ran outside really quickly yesterday when we got home from church to snap a couple pics. The wind was blowing and I was too cold to worry about waiting for the perfect shot!  The blocks we used yielded a few scrap HSTs so some of the ladies sent them along with their blocks. I had just enough to make this strip down the back, which in turn was just wide enough to allow me to not have to piece any more of the backing. Serendipity.

Untitled

I took this with me to Iowa over Thanksgiving break so I could quilt it on my mom's long arm. So much quicker than trying to do it on my machine. I'm still not that great at it, but these loopy swirls are pretty easy and generally look good even when they're a little sloppy! I was also really glad to finally use that Meadowsweet print for something. I've had it forever but just never seem to find the right project for it, until I used it for the binding. And look, someone even used it in their block, too. I hadn't noticed that until I saw this picture.

Now I just need to sit down and stitch our label on, then send this beauty off to Threading Hope, the charity of choice for our circle.

Monday, November 18, 2013

Imagine Circle Swap

Imagine Circle Swap

Some of the ladies in our do.Good Stitches circle decided to do a swap for fun and to try to get to know each other a little better. One of the items that my partner requested was a pillow so of course that is what I chose. I love making pillow covers. It is so fun to do a block or technique that you've been wanting to try, but don't really want to commit to a larger project. Plus, I'm a big fan of functional projects and who can't use a few more pillows in their life?


I think that paper-pieced blocks are great for pillows. They make such striking designs but are fairly time-consuming so I'm not really tempted to make a quilt with them. The blocks I used are called Star Jumps and were a part of the Desperate Housewives series by Quilt Jane. The pillow finishes at about 16".


I had a bit of a fail while making the back for the pillow, though. I had a FQ of this lovely print and knew it would be perfect for the back. I cut the two panels I needed, only to realize that I had cut them a little too large.  So I just whacked some off and hemmed. I didn't realize my mistake until I went to pin them to the front and couldn't line up the pattern. So, hopefully the mismatched design won't annoy her too much! 

I have seen some awesome projects on IG and Flickr that the other ladies in my circle are making, so I can't wait to see what ends up in my mailbox!

Sunday, November 10, 2013

Bee Blocks

I finished my bee blocks for November last night, so I thought it was about time for a round-up of the last couple months' blocks. 

Always Bee Learning:

October: Windmill Blocks for Stephanie, from the book Modern Blocks, designed by Lynne of Lily's Quilts

Ocean Waves
November: Ocean Waves blocks for Leanne. Tutorial on her blog.

That Stash Bee:

October: Rugby Blocks for Katie, tutorial at Teaginny Designs. 

November: Crown of Thorns blocks for...me! Pattern can be found at McCall's. 

Imagine Circle, dGS:

Untitled
October: Pineapple Blossom blocks for me. Pattern from Quiltville.

November: Starstrip block for Heidi. Tutorial on her blog. 

Bee {Purposeful}:

October: Scrappy Chevrons for Rachael. No tutorial, but here's how I make my flying geese

November: Flying Geese for Carla, inspired by this quilt by Ashley at Film in the Fridge. 

I just have one more bee block to make for 2013, since all bees but my dGS circle take a break in December. I really do enjoy making bee blocks and am always a little excited when a new month rolls around so I can find out what we'll be making. It's highly probable that I need to get out more...


Thursday, November 7, 2013

Churn Dashes

Untitled

A few months ago, Corey of Little Miss Shabby asked for volunteers to join a new bee that she was starting called Bee{Purposeful}. Corey's church is very active in missionary work and she was looking for a group of sewists to help make quilts that would be auctioned off with the proceeds benefiting the missions program. The group is set up in a similar way as do.Good Stitches in that half of us are "quilters" who each have a month to design, make blocks, and finish the quilt while the other half of the group are "stitchers" who send blocks to the quilters.

Photo courtesy of Little Miss Shabby
We started in August, with a Camille Roskelley-inspired Scrappy Trip Around the World. Corey was the quilter that month and did a fabulous job designing our first quilt!

Untitled

 September was my month and if you'll remember I chose the Skinny Churn Dash Block. It is always a lot of fun to get bee blocks in the mail so in no time I had the quilt top sewn together. Sorry for the super-bright pictures, but the only chance I've had to take pics lately was after church on Sunday and it was very sunny! But, an exceptionally pretty day so I'm not complaining!

Untitled

I was very indecisive about how I wanted to quilt this, but I eventually settled on somewhat of an orange-peel design. As luck would have it, the lid for my 12" skillet was a perfect template for marking my lines!

Who knew a 12" skillet lid would be so handy?

I just used my walking foot for the quilting and it was so easy. I'll definitely be doing it this way again!

Untitled

For the backing I chose this fun print but for the life of me I cannot remember what it is! I know that I bought it in the sale section at Pink Castle a few months ago because it had many of the same colors that I had requested for the quilt, but other than that I'm at a loss. I hand-stitched the binding this time and as usual, it took forever! I kind of enjoy stitching it on by hand, but it seriously takes me about 2 weeks to finish a quilt that way, so I generally go with my machine. The binding is Kona Ice Frappe which is a pretty minty-aqua.

And this concludes the quilt show for the week! I think that I am finally caught up in showing my finished quilts, and you probably won't be seeing any more this year! I've got one more to finish for dGS once I get everyone's blocks but that's it. I'm trying my best to round up all of my quilt tops and those in progress so I can take them to my mom's at Thanksgiving and give her longarm a workout. Doesn't that sound fun?

Monday, November 4, 2013

Jersey Stars

This post brought to you by the end of Daylight Savings Time.
 Seriously, I think there is something in the air this time of year that makes my normally early-rising kids get up even earlier! Forget that "extra" hour of sleep they were supposed to get this weekend, 4am is apparently when all the cool kids wake up! 

Anyway, onto the quilt...


A couple of months ago, a friend from college contacted me about a friend of hers who was looking for a quilt for her young daughter. Their family breeds Jersey cattle and the little girl loves cows and horses, so the mother was looking for a Jersey cow/horse quilt.  I was excited to help, but also a little nervous about finding any fabric with Jersey cows on it. Most of the cows that are on fabric are Holsteins, you know, the black and white spotted ones? Luckily, I was able to find an eBay seller that seems to specialize in various animal breeds printed on Kona cotton squares and she had Jerseys.

After we agreed on the Jersey fabric, I encouraged my new friend Bec to look at my Pinterest board for inspiration as to the design and color scheme she wanted for her daughter's quilt. She picked out two very pretty quilts, this one for the pattern and this one for the colors.


Many of the prints in the quilt are from the Ladies Stitching Club line by Liesl Gibson. The line came out in 2012, but I was able to find quite a few of the prints at Burgundy Buttons. After they arrived, I found some coordinating prints in my stash and got to work. Bec also picked out a cute horse print by Michael Miller to use on the back of the quilt.


I kept the quilting simple with lines 1/4" from the seams. I really like the colors in this striped print that I used for the binding! The quilt measures 60"x75", a great size for its intended use.

I love the challenge of  a custom quilt order, and am so pleased with how this one turned out! I can't wait to see pictures of little Matilda opening it at Christmas!

Thursday, October 31, 2013

A Halloween Quilt

About 6 weeks ago I had the overwhelming urge to make a Halloween quilt. Never mind that my parents were visiting that weekend and half my family was sick including myself. It just needed to be done. So I browsed around a bit and found a few Halloween quilts that I loved, like this St. Louis 16-patch by Darcy at Modern Cozy and this Spooktacular plus quilt by Nicole at Modern Handcraft. But honestly, as simple and fun as these designs were, my stuffy head needed something even easier.


 Then I found the answer at Cluck, Cluck, Sew. I'm pretty sure Allison is one of my favorite quilters so it really isn't surprising that it was her Halloween quilt that I wanted to copy. I love the wonky strips in her design but even that was too much for me, so I made mine straight. Seriously, easiest quilt top I've ever made. I just grabbed a variety of black, white/black, and orange prints and started cutting strips. If I remember correctly, they are all 9" long by various widths. I just threw them all in a bowl and started sewing them in pairs, then in pairs of pairs, and so on. I didn't even worry about making the final columns the same length, just got within 6" of each other and sewed them together to complete the top. I did cut one column in half to add a little interest, but that's it. So quick and easy and full of fun prints. 


I knew that I wanted this to be a good quilt for snuggling, so a flannel back was obviously needed. I had actually folded the top and put it away, thinking that I would browse the sales sections for a while until I found a good deal. Believe it or not, I found a great deal on a set of queen-size flannel sheets at Sam's that matched the quilt fairly well. 

Halloween quilt on porch

I quilted it with a random herringbone, but would have loved to quilt spiderwebs all over it. Maybe on the next one! The quilt finished at about 68" x 76", a perfect size for snuggling around a campfire.