September is my month as quilter for Bee{Purposeful} and I've chosen the Churn Dash block. There are hundreds of churn dash tutorials out there, most of which are based on a block divided into 9 equal squares. I prefer the look of these skinnier churn dashes which are more of a 1:2:1 proportion, so I thought I would add another tutorial to the mix, along with a few variations for our stitchers to choose from.
This is more of a quasi-tutorial in that I'm basically just giving dimensions and assuming that you know the basics of assembling blocks. As always, if you have a question please feel free to ask! So, first up...
To make a 6" skinny churn dash:
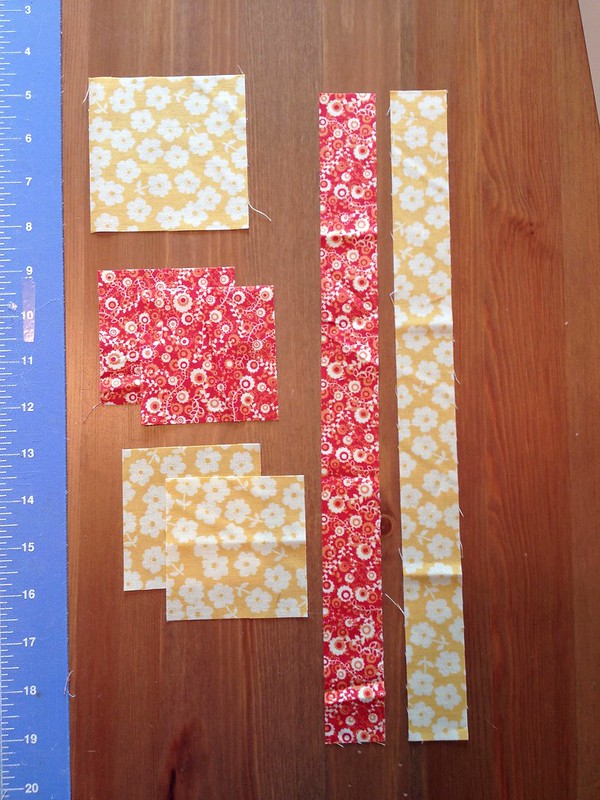
You will need:
Fabric 1: (1) 3.5" square for the center
(2) 2.5" squares
(1) 1.25"x14" rectangle
Fabric 2: (2) 2.5" squares
(1) 1.25"x14" rectangle
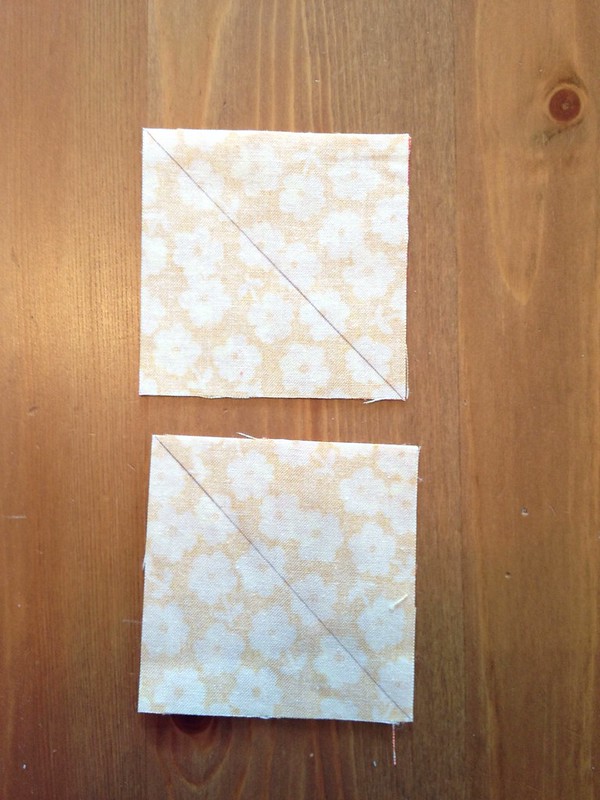
Pair up your 2.5” squares of Fabric 1 and Fabric 2 right sides together. Draw a line diagonally through the center and stitch a scant ¼” away from both sides of the line. Cut on the line, and press the seams open. Trim your HSTs to 2”.
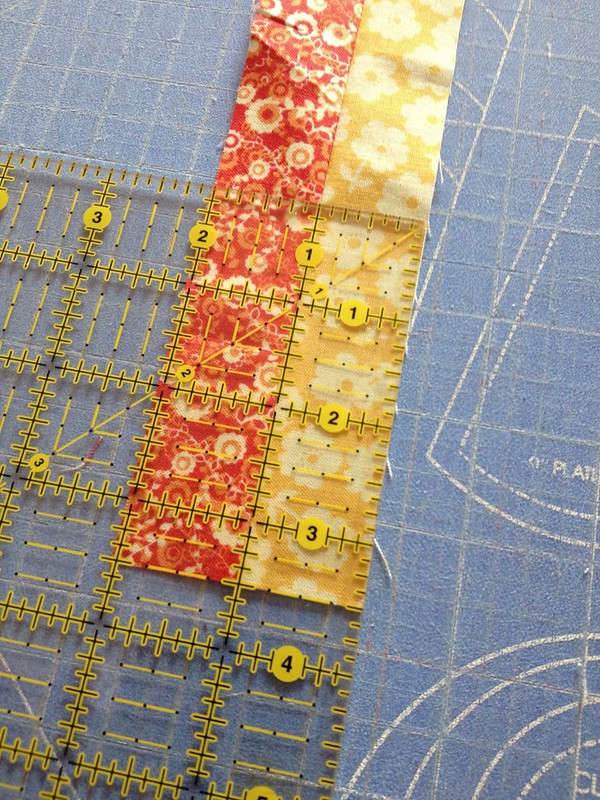
Sew your 1.25” rectangles together along the 14” edge, creating a rectangle that is 2”x14”. Subcut this rectangle into [4] 2”x3.5” pieces.
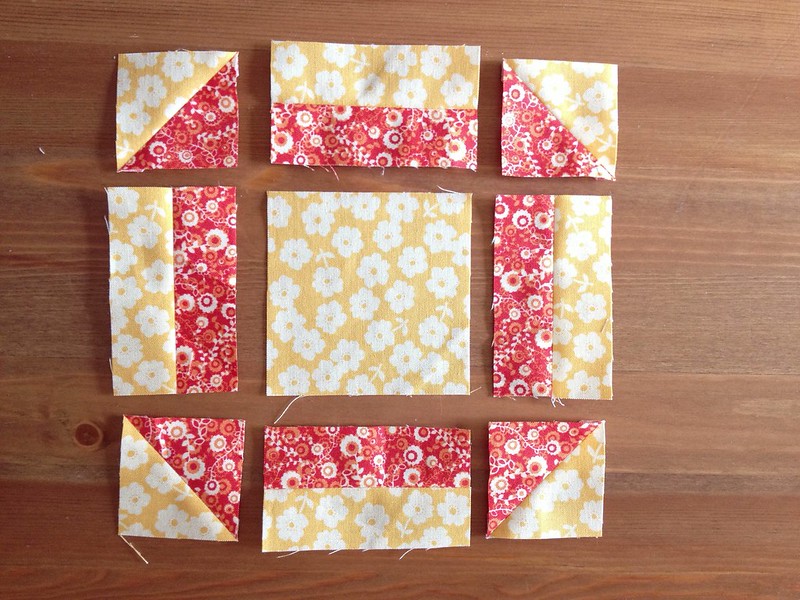
Assemble the block as shown and trim to 6.5”
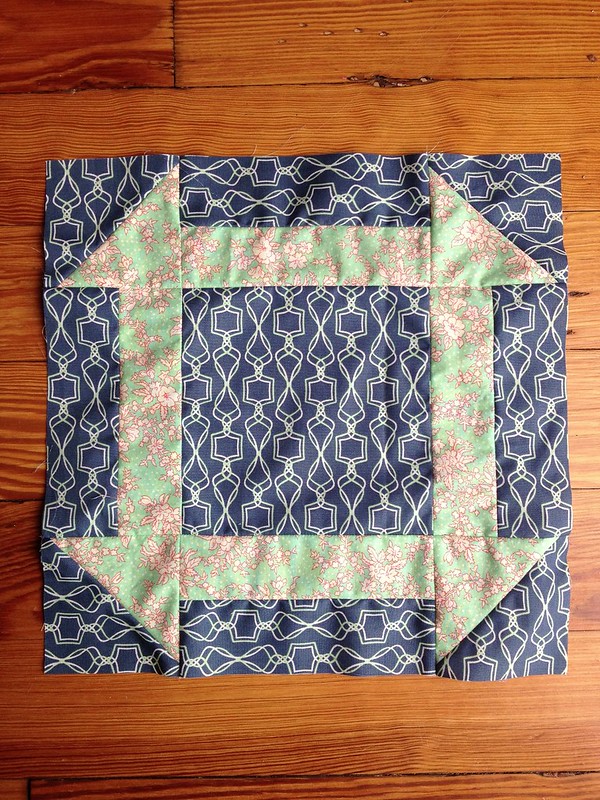
To make a 12.5" Skinny Churn Dash, you will need:
Fabric 1: (1) 6.5" square for the center
(2) 4" squares
(1) 2"x26" strip OR (2) 2"x 13" strips
Fabric 2: (2) 4" squares
(1) 2"x26" strip OR (2) 2"x 13" strips
Now for the variations:
To make a 6" skinny churn dash:

You will need:
Fabric 1: (1) 3.5" square for the center
(2) 2.5" squares
(1) 1.25"x14" rectangle
Fabric 2: (2) 2.5" squares
(1) 1.25"x14" rectangle
To make the block:

Pair up your 2.5” squares of Fabric 1 and Fabric 2 right sides together. Draw a line diagonally through the center and stitch a scant ¼” away from both sides of the line. Cut on the line, and press the seams open. Trim your HSTs to 2”.

Sew your 1.25” rectangles together along the 14” edge, creating a rectangle that is 2”x14”. Subcut this rectangle into [4] 2”x3.5” pieces.

Assemble the block as shown and trim to 6.5”

To make a 12.5" Skinny Churn Dash, you will need:
Fabric 1: (1) 6.5" square for the center
(2) 4" squares
(1) 2"x26" strip OR (2) 2"x 13" strips
Fabric 2: (2) 4" squares
(1) 2"x26" strip OR (2) 2"x 13" strips
Assemble the block the same as the 6.5" block, except you will trim your HSTs to 3.5" and subcut your strips to yield (4) 3.5"x6.5" rectangles.
Now for the variations:
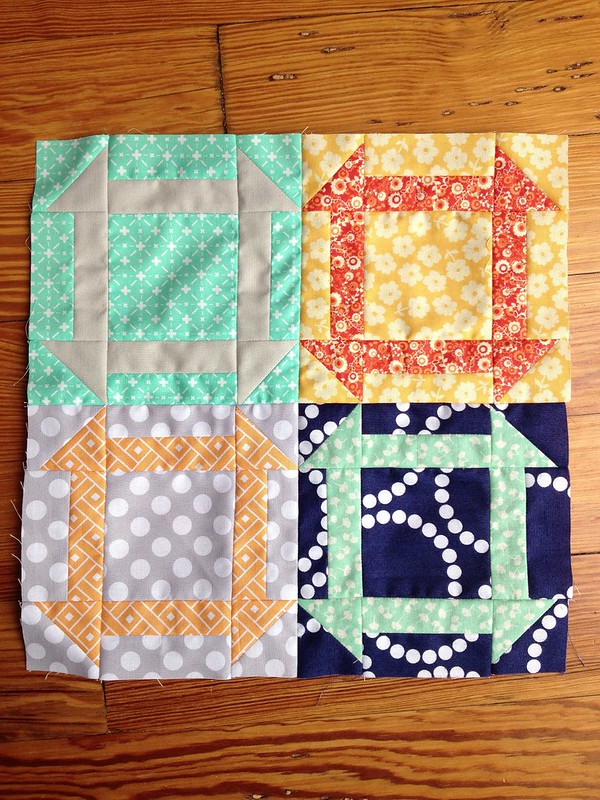
You can make four of the 6.5" blocks and sew them together as above to yield a 12.5" block, or sew them together to make a 6.5" x 24.5" strip....
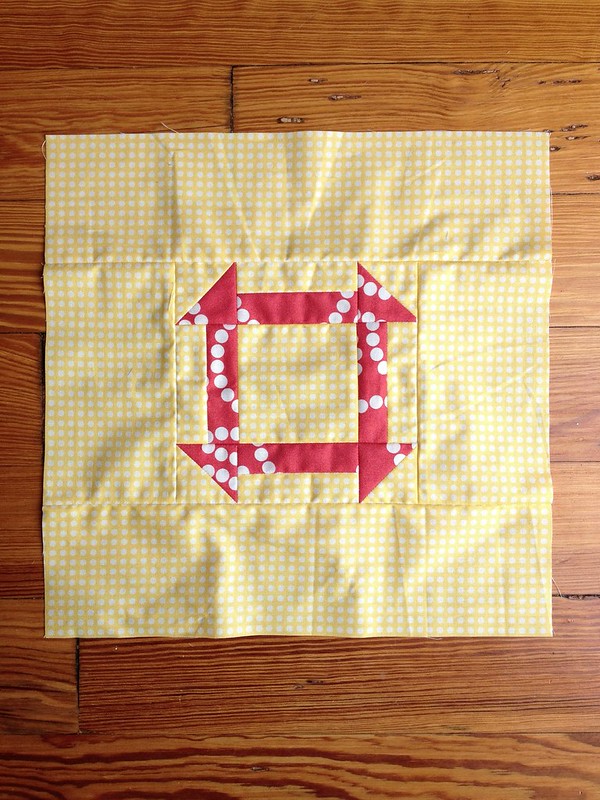
Or make one 6.5" block and frame it with 3.5" strips...
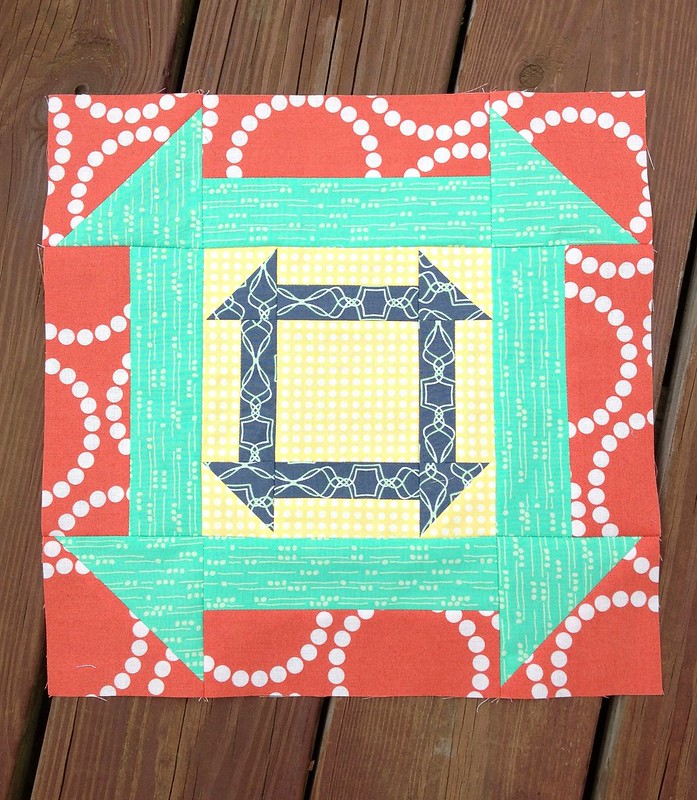 Or combine the two, and make a Double Churn Dash! To make this one, just make a 6.5" Churn Dash and use it as the center of your 12.5" one. Make sense?
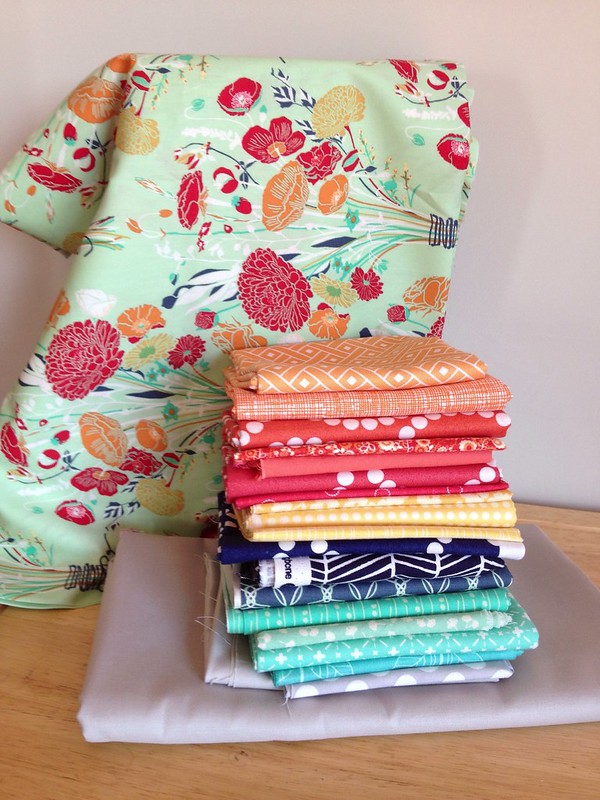
I am so excited to start assembling this quilt! I recently bought this Reminisce print and loved it so much that I decided to use it as the basis for our color scheme...mint, teal, tangerine, melon orange, straw-yellows, along with tomato-red, navy, and a bit of light grey. Fun!

It's super cute Toni!
ReplyDeleteI love your churn 'n dash 'n dash! It's so cute! :D
ReplyDeleteVery cute! I'm slowly getting back into quilting and may have to add this one in somewhere.
ReplyDeleteGreat tutorial Toni thanks!!
ReplyDeleteI love that fabric pull, great find with the reminisce print - cant wait to see what you come up with!!
Gorgeous! Great tutorial and like the variations! That navy herringbone is one of my very favourite prints, great colour scheme :)
ReplyDeleteOooh, these are going to look so cool together!
ReplyDeleteThat stack is soooo yummy! Can't wait to see all the blocks together. Great choice.
ReplyDeleteLove your version of this block!!
ReplyDeleteVery cute Toni!
ReplyDeleteGreat pattern! Thank you for sharing the pattern. I love the Reminisce fabric. I may have succumbed and bought some (well a fair bit).
ReplyDeleteLooking forward to tackling this. Toni - do you have any scraps of novelty fabrics? I'm putting together some I Spy Quilts for charity http://rachaelrabbit.blogspot.com/2013/07/charity-i-spy-quilt.html Speak to you soon
ReplyDeleteJust completed my first Double Churn Dash block and I love it! Thanks for the great photos of your blocks and the tutorial.
ReplyDeleteChurn Dash is a favorite of mine. It would look super cool to keep building until the quilt was twin size or even bigger! Thanks for my morning inspiration! Amie
ReplyDeleteOh I LOVE this---my favorite block DOUBLED is sooooo awesome---thank you bunches for sharing the tutorial with us.
ReplyDeleteterrific variety - really fun idea
ReplyDeleteI have been wanting to make a churn dash quilt for awhile now. After seeing your tutorial on different variations of making the block, I knew this was the way I wanted to go! Can't wait to get started!
ReplyDelete